
There’s no single magic number, but there is a simple answer: oil your deck when it stops repelling water, not when the calendar says so. For most decks that lands somewhere around once a year, sooner for areas in full sun and later for shaded spots.
The water test settles it
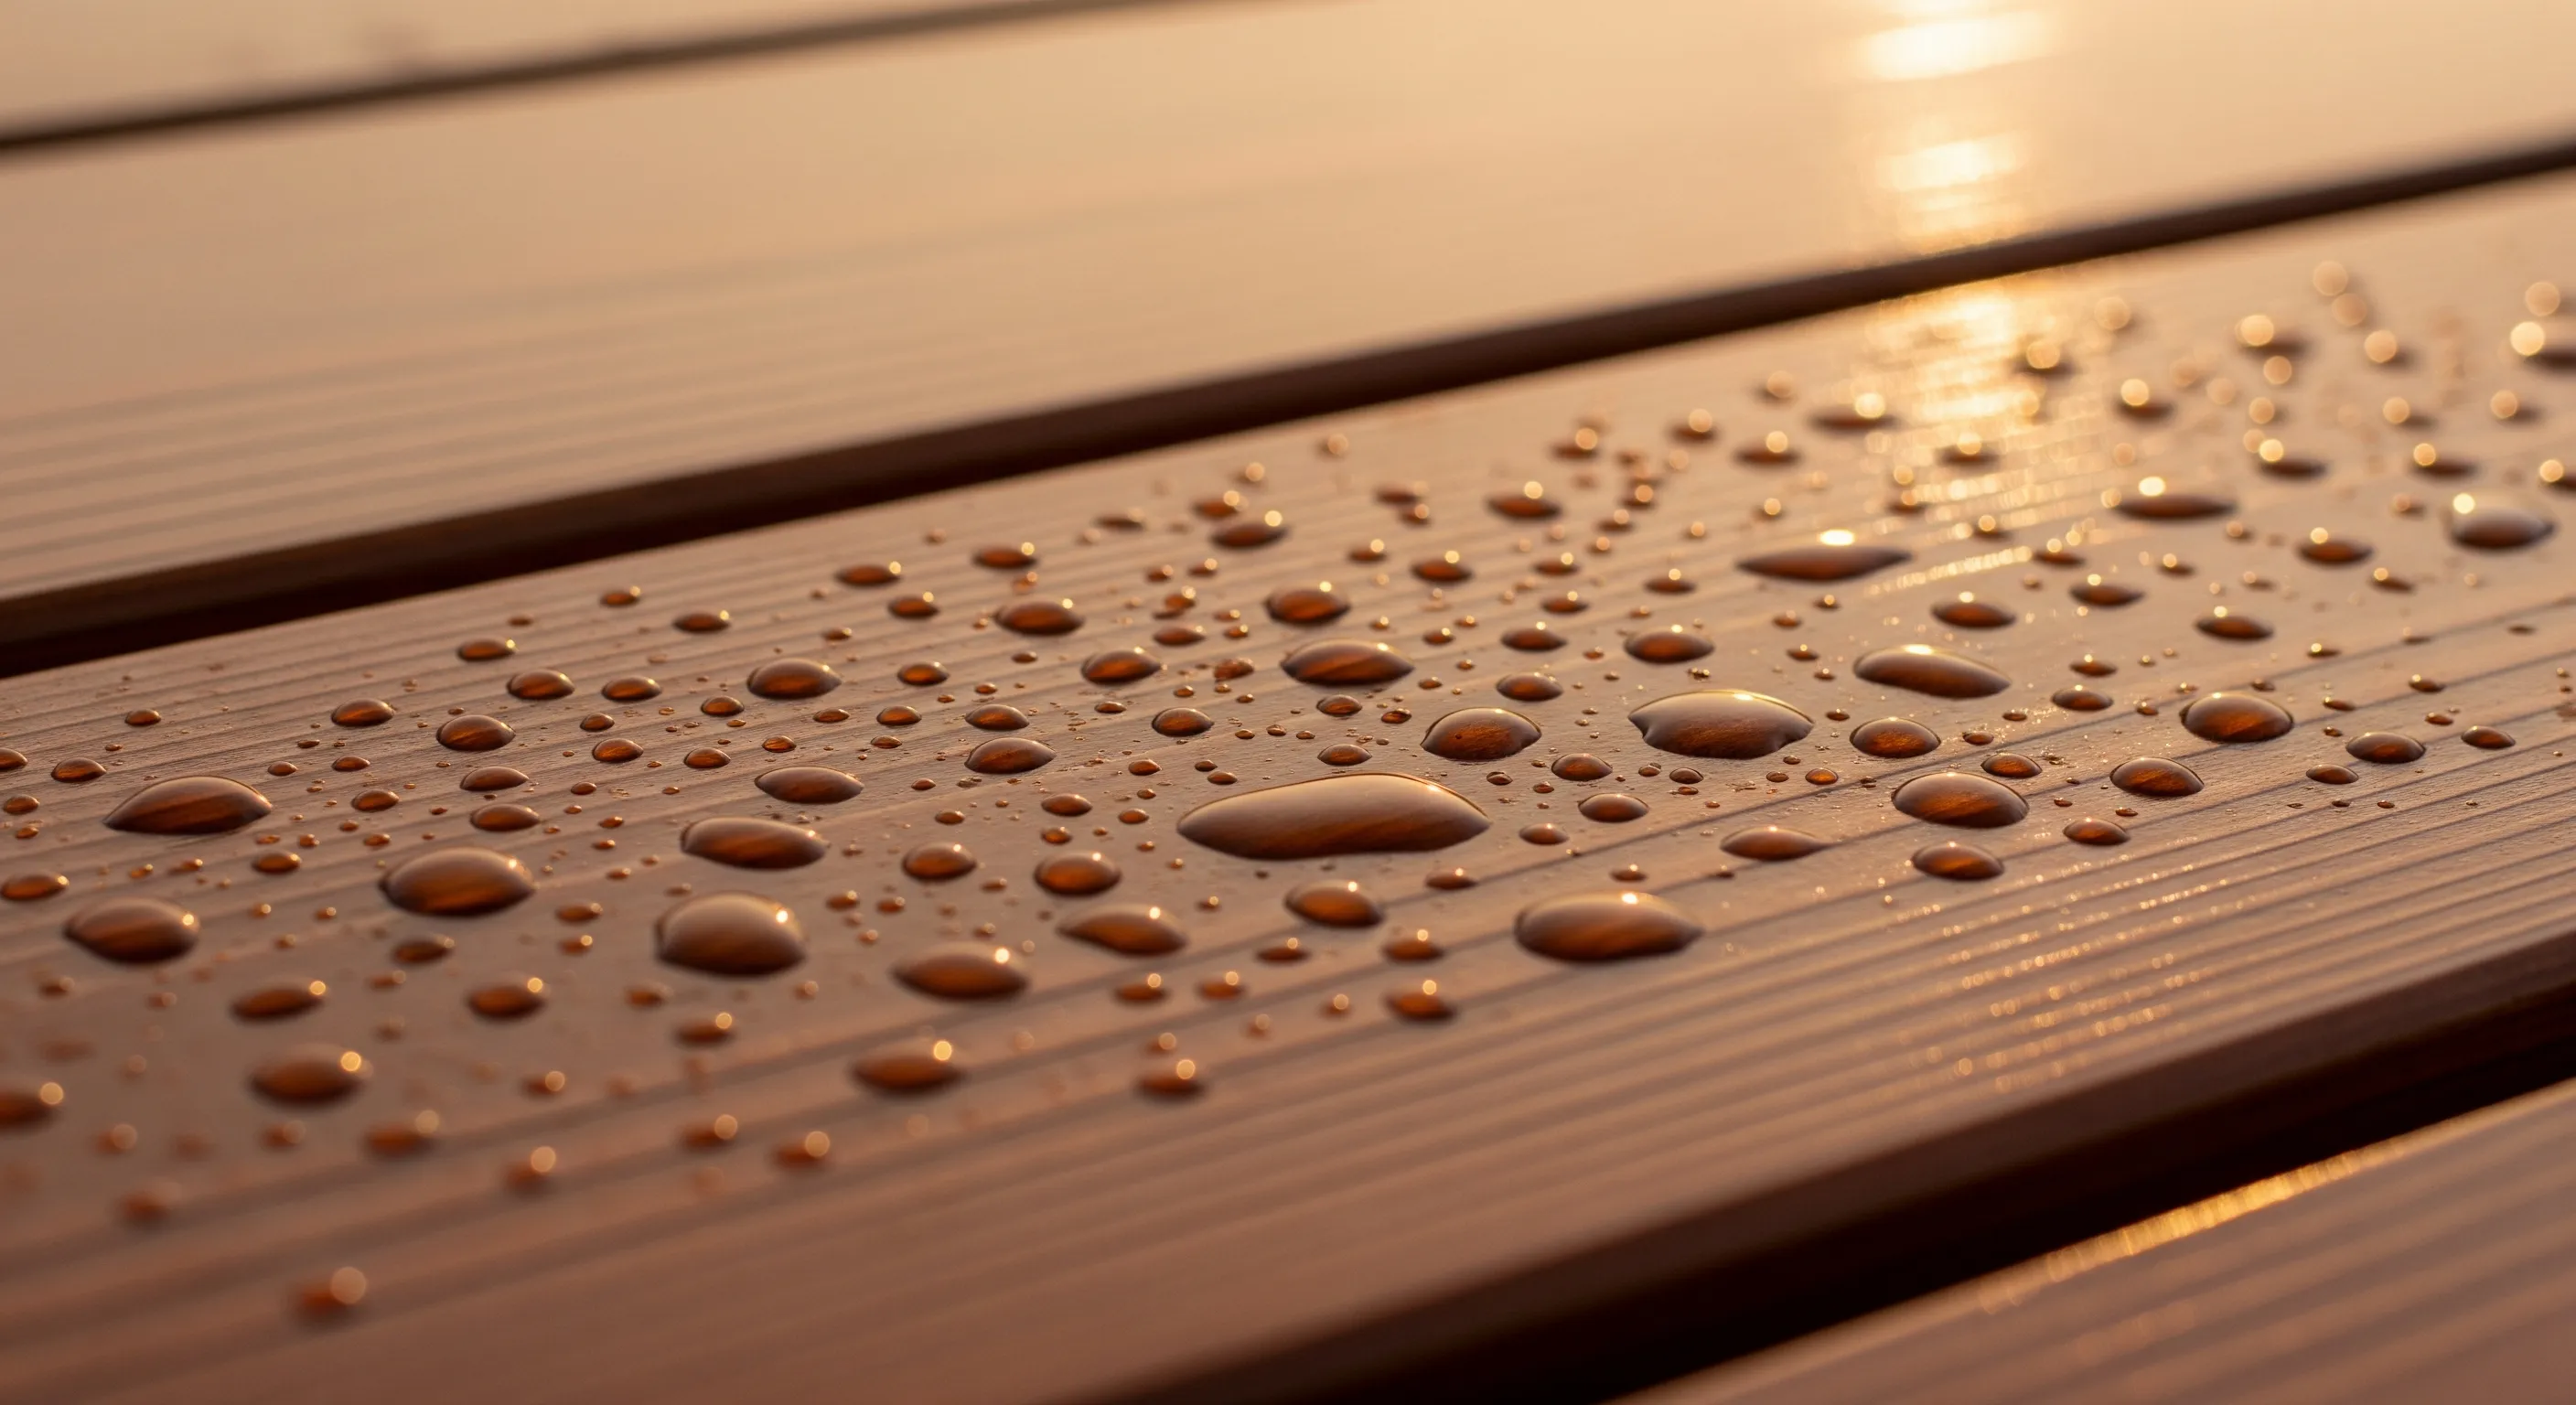
Forget guessing. Tip a cup of water onto the deck:
- Beads up and sits on top? The finish is still doing its job. Leave it.
- Soaks in and darkens the timber? The oil’s worn through. Time to re-coat.
Do this a few spots around the deck; the sunny northern edge wears faster than the bit under the eaves.
Check three or four areas: the step landing (high traffic), the open sun-facing edge, and a sheltered spot under an overhang. Each can be at a completely different stage. If even one zone is soaking water in, that zone needs attention now, even if the rest can wait a few months.
What changes how often you need to oil
Sun and UV exposure
UV is the main enemy of a deck oil finish. It doesn’t just fade colour; it breaks down the molecular structure of the film over time. A deck in full sun for most of the day may need re-oiling every six to twelve months. The same deck in deep shade might go two years before the water test fails. This single factor matters more than anything else on this list.
Foot traffic
Wear patterns develop wherever people walk the same path: from the door to the outdoor table, along the edge boards used as a step-up. Oil in those lanes grinds off under foot pressure and grit. You may end up spot-treating high-traffic areas mid-year while the rest of the deck still has life in it.
Timber species
Different timbers have very different densities and natural oil content. Merbau and spotted gum are both hardwoods, but spotted gum is notably denser and tends to resist moisture penetration longer once oiled. Softer timbers and open-grained species drink more oil and more often. If you are unsure what species your deck is, a decking professional can identify it and advise accordingly.
Climate and environment
Salt air (common near the ocean), intense UV from long summers, and wide temperature swings between seasons all accelerate finish breakdown. Humid climates with high rainfall can promote mould growth if water sits on a board that is no longer repelling it. These aren’t reasons to panic, just reasons to run the water test more frequently: every three to four months in harsh environments, rather than waiting for the anniversary of your last coat.
Whether the deck is covered
A pergola or roof overhead removes most of the UV load and eliminates direct rain. Covered decks can often go considerably longer between oiling. They still need checking: horizontal boards collect dust and organic matter, which holds moisture against the timber. Clean covered decks regularly even if you don’t need to oil them as often.
Signs your deck is due for oiling (without the water test)
The water test is the definitive check, but these visual cues usually appear at the same time:
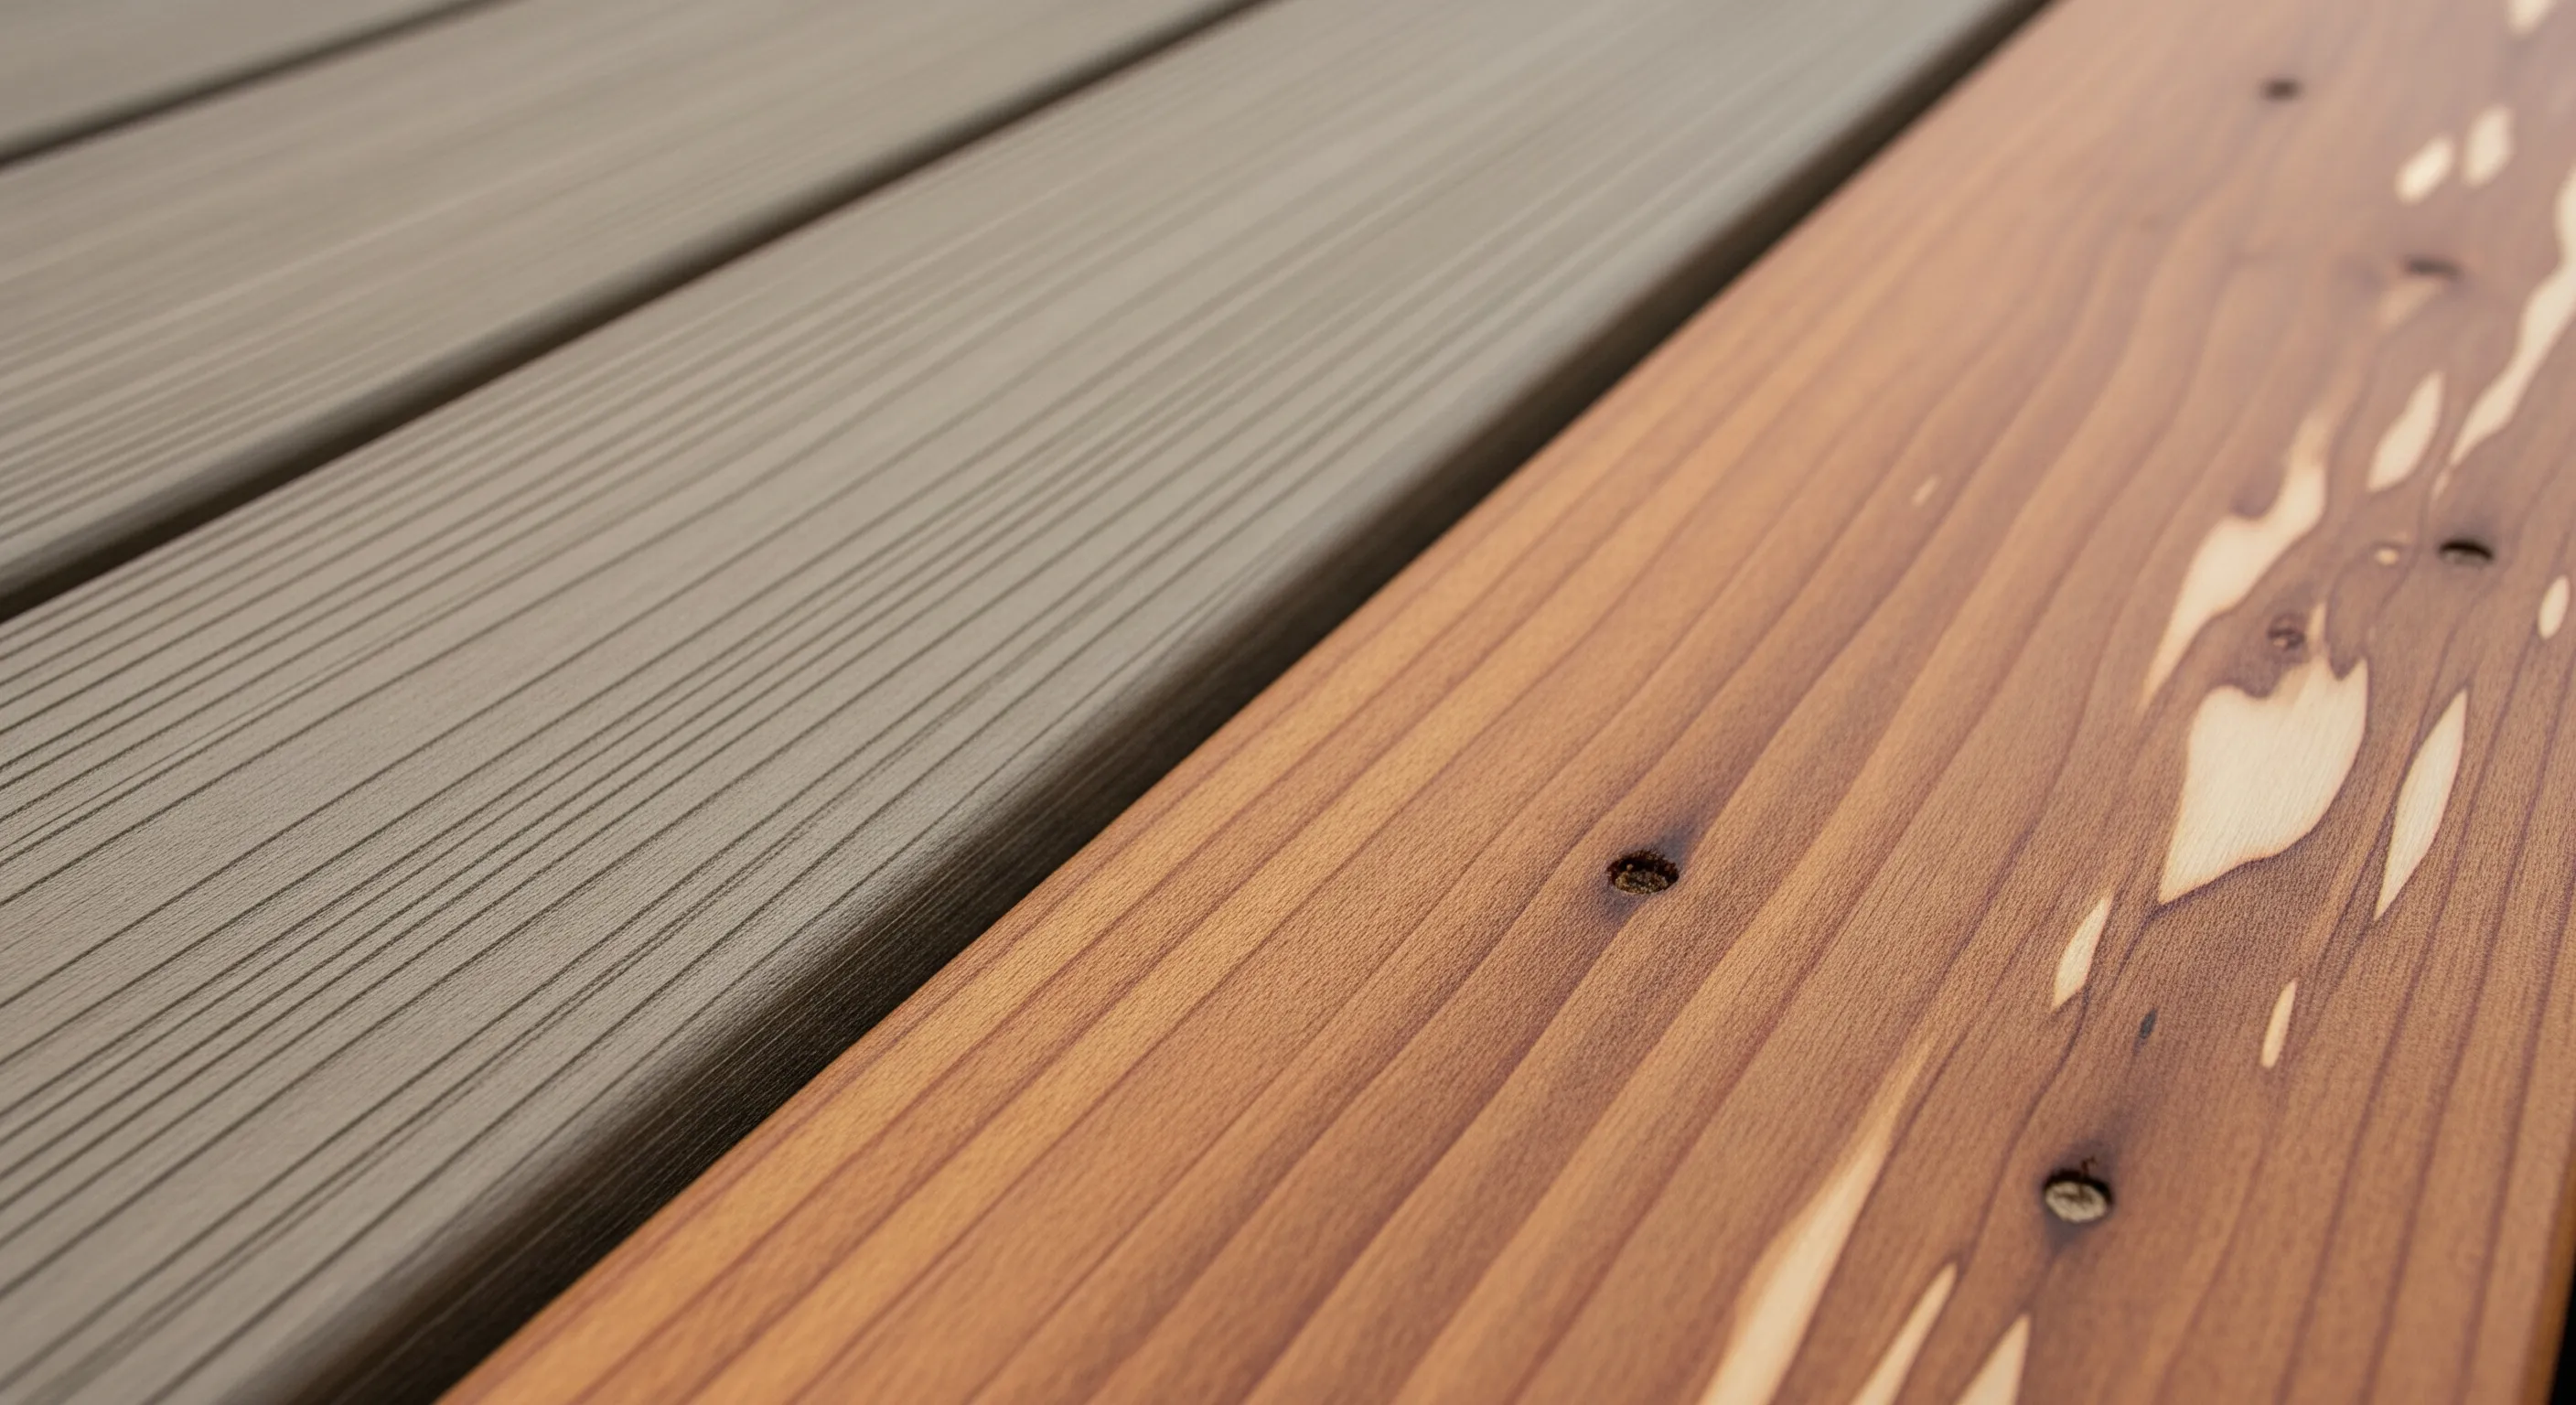
- Boards look grey or silver rather than their natural warm brown
- Fine cracks or checks appearing along the grain (the timber is drying out)
- Patches of mould or algae taking hold (oil keeps the surface dry enough to resist them)
- Colour looking patchy and uneven across the deck
- The surface feels rough or splintery underfoot rather than smooth
Any one of these is a prompt to run the water test. More than one is a prompt to get oiling soon.
Looking at a deck that has already gone too far? Oiling alone won’t fix grey, cracked boards. Get a free quote.
How to oil a deck properly
Step 1: clean the deck thoroughly
Oiling over dirt, mould, or flaking old oil is the single most common mistake. The fresh oil bonds to what is already on the surface; if that layer is compromised, the new coat won’t last.
- Sweep off loose debris first
- Use a purpose-made timber deck cleaner and scrub with a stiff broom or brush
- Rinse thoroughly and let the boards dry completely: at least 24 to 48 hours of dry weather, depending on your climate and the time of year
If you have mould or mildew growth, use a dedicated mould-treatment product before the cleaner, and follow the label.
Step 2: check the weather forecast
You need dry conditions for at least 24 to 48 hours after oiling. Check the product tin for the specific cure window; it varies. Apply oil onto dry timber only: boards that are even slightly damp from overnight dew will trap moisture under the film and cause peeling or blotchiness.
Avoid applying in direct, hot sun. The oil flashes off the surface before it can soak in. Early morning or late afternoon on a mild day is ideal. Overcast conditions with no rain approaching are often perfect.
Step 3: apply the oil
Work in manageable sections so you can maintain a wet edge. Applying one board’s full length before moving to the next is cleaner than going strip by strip across the width.
- Apply with a lambswool applicator, a wide brush, or a short-nap roller (check what your product recommends)
- Work the oil into the grain rather than just dragging it across the surface
- Apply the first coat liberally, let it penetrate for the time listed on the tin, then wipe off any excess that has not soaked in after that window
- Excess oil left to sit on the surface dries tacky and takes days to clear
Number of coats: new or newly sanded timber typically needs two to three coats, with the recommended re-coat window between each. A maintenance coat on a deck that is still in reasonable condition usually needs one coat, sometimes two on the thirstiest areas.
Common mistakes to avoid
- Applying oil on a wet or damp deck. Let it dry properly.
- Oiling in direct midday sun. The oil cures too fast and doesn’t penetrate.
- Skipping the clean. Oil on dirt is wasted oil.
- Leaving pooled oil. Wipe up excess before it skins over.
- Mixing products. Don’t apply a different brand or formula over an existing one without stripping back first. Check whether the products are compatible.
- Rushing re-coats. Always follow the tin’s recommended window between coats.
Oil vs stain: which should you use?
Penetrating deck oils soak into the timber fibre and feed the wood from within. They’re the standard choice for maintaining the natural look of hardwood. They wear gradually and are easy to reapply without stripping.
Pigmented deck stains add colour and UV protection in one step. They’re useful on timbers that have gone grey, as the pigment can restore some visual warmth. They tend to last a little longer than clear or lightly tinted oils before peeling but are harder to recoat without preparation once they do start to fail.
If your deck is already oiled and you want to switch to a stain (or vice versa), clean and sand back first. Applying a film-forming product over a penetrating one (or the reverse) without preparation will cause adhesion problems. When in doubt, stick with the same product family and follow the manufacturer’s guidance.
A sensible maintenance rhythm
Rather than setting a calendar reminder and oiling regardless of what the deck looks like, build a simple habit:
- Every three months: run the water test, sweep and clear debris, look for early grey patches or cracks
- As needed (probably once a year for most decks): clean fully and re-oil whichever zones have failed the water test
- Once a year at minimum: give the whole deck a proper clean, even if oiling isn’t due yet; organic matter sitting on boards holds moisture and damages the finish over time
This approach means you are never over-oiling (which wastes product and can cause build-up) and never letting the timber get so dry that it splits.
When oiling is no longer enough
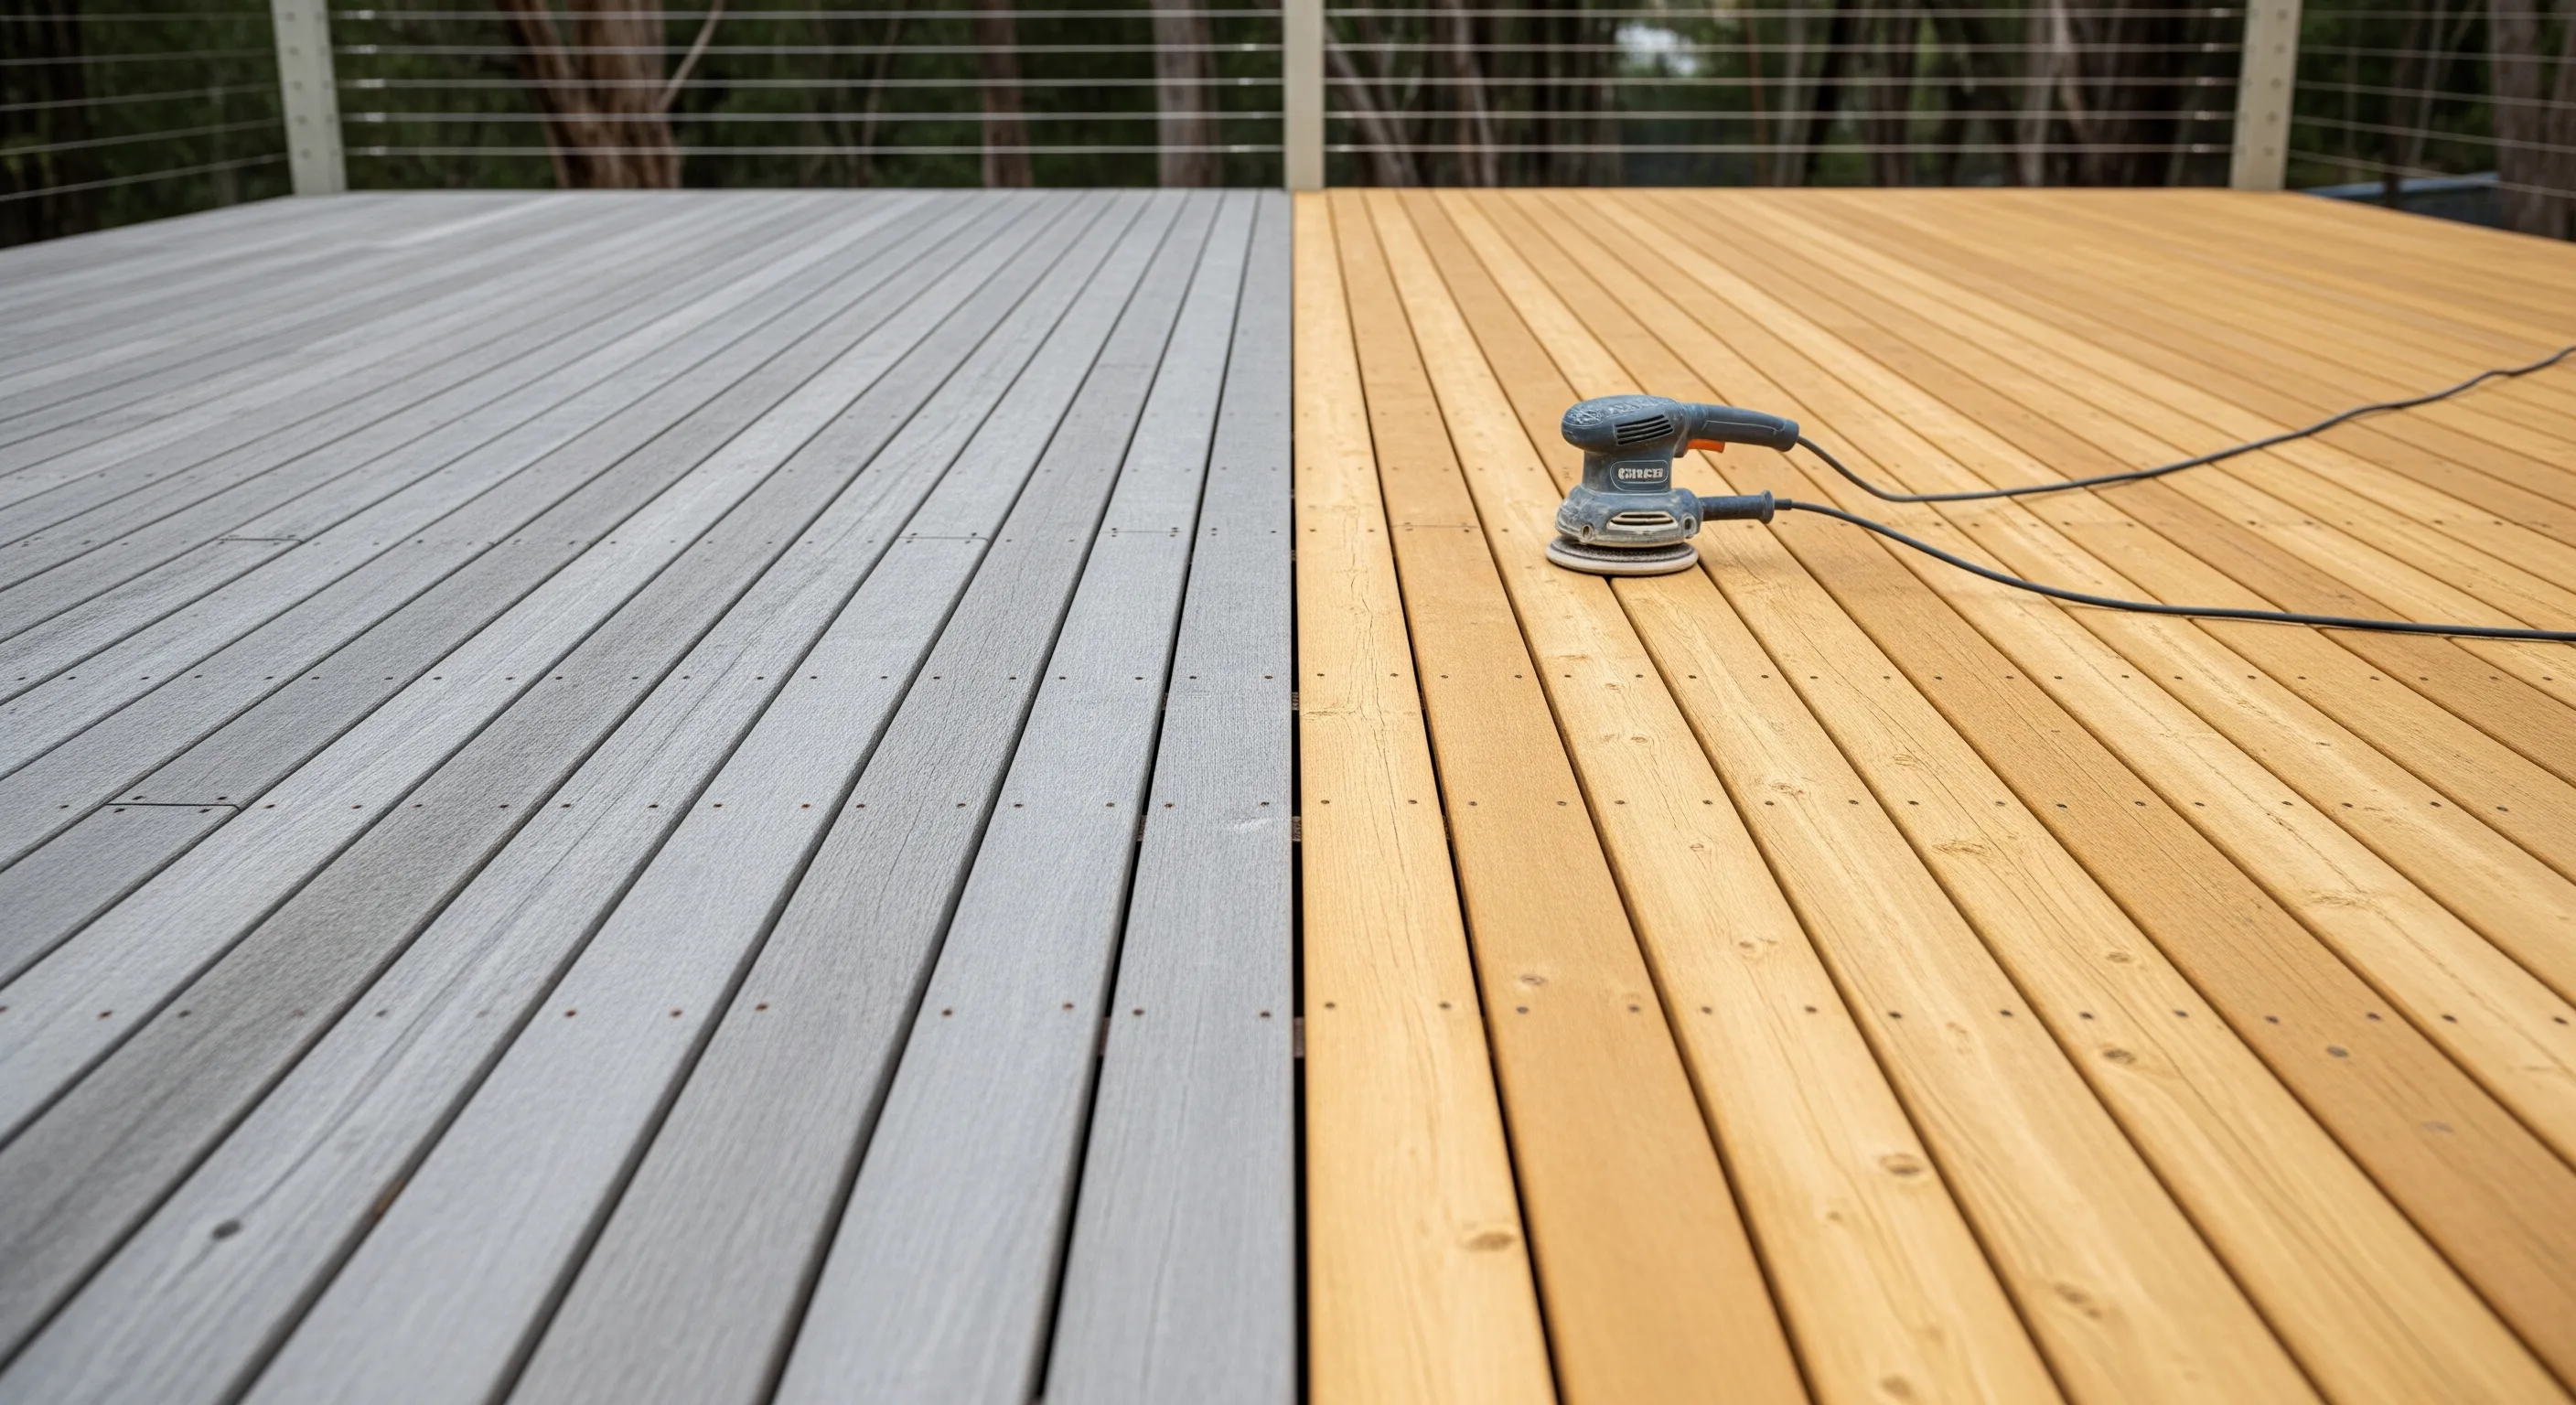
If your deck has been neglected for several years, oiling over the surface will not fix the underlying damage. Deeply greyed, cracked, or rough timber needs to be machine-sanded back to fresh wood before any new finish is applied. Once you are back to clean timber, a proper oiling programme keeps it there.
Signs that you are past maintenance and into restoration territory:
- Grey goes all the way through the surface and doesn’t respond to cleaning
- Boards have deep checks or splits, not just minor surface cracking
- The finish is peeling or flaking rather than wearing evenly
- Water is pooling rather than running off, suggesting the boards are cupping
A full sand-and-restore brings timber back to a condition where oiling will actually work again. Read the full guide to restoring an old timber deck for a step-by-step breakdown of the process. If the deck is already at that stage, our restoration service can assess it and bring it back.
Thinking about your own deck? See our decking services or get a free quote.